Generating the Quote
I recently was looking for a convenient way to get a random quote printed in my terminal. I could head out to any of the popular "quote of the day" sites, but for my use case, I needed (maybe wanted) it in my terminal. There are probably several ways to go about this or even an existing library out there to do this for me, but like many things I wanted to take a shot at it myself. To follow along with this post you'll want to make sure you have installed curl and jq. We'll be using curl to make the API request and jq to parse the response.
To start we need to find an API, preferably one that returns JSON as the response, to provide the quote. For this, I found a free and open-source option called Quotable, which can be found on GitHub here. For being completely free I must say that the API is pretty robust in that it provides a lot of functionality around getting random quotes, quotes by tag, quotes by author, etc. For what I was looking for it was perfect. The route, in particular, is the GET /random route, which you can test with this command.
curl https://api.quotable.io/random
The /random route returns a different quote with each request, but the response should look something like this.

That's a little difficult to reason about when it's unformatted. Let's change that by piping the result into jq. We'll also add the -s silent flag to avoid seeing the network request bits in the request.
curl https://api.quotable.io/random -s | jq
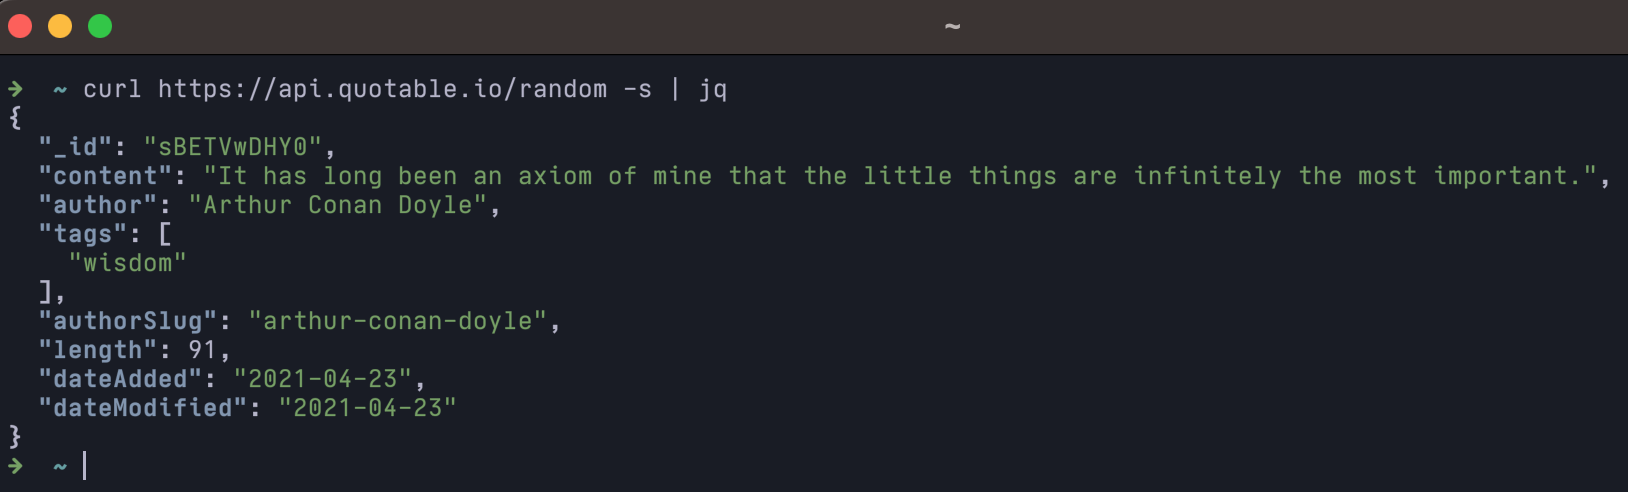
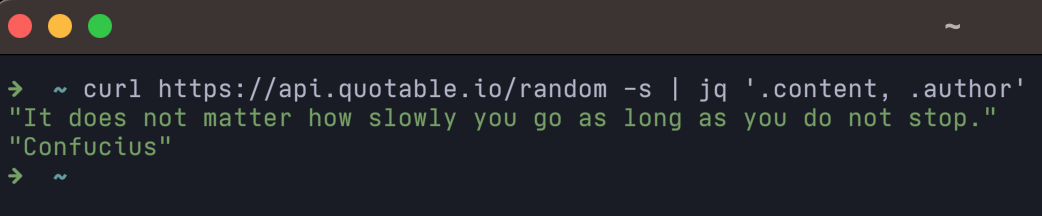
That's better. Now that we have the quote data, we need to expand our jq command to parse the necessary JSON fields from the response and format it properly. Let's start by just looking for the fields we need, which in this case are "content" and "author". We can do this by adding'.content, .author' to the command. This tells jq to filter the response and return just the values of those fields.
curl https://api.quotable.io/random -s | jq '.content, .author'
This is helpful, but I don't want the quotes to be included in the final output. For this, we can add -r to the jq command. This flag is short for --raw-output, which when used results in the values being written directly to standard out without quotes.
curl https://api.quotable.io/random -s | jq -r '.content, .author'

This is pretty good, but I think I'd prefer to have the author's name indented slightly and prefixed with a hyphen. Maybe something like this.
This is the quoted content.
 - Author's Name
To do this we'll need to utilize jq's string interpolation functionality. Our command will mostly be the same, but we'll just have to update how we access the JSON fields to format them. The nice thing about jq is that it contains types like string, number, boolean, array, objects, and functions. So we can output a string and interpolate the JSON values inside of it. Like many other programming languages, we denote a string with a pair of quotes "". The interpolation syntax involves surrounding the JSON field with \(). So in our case we'll be using "(.content)"\n - \(.author)". We need to insert a line feed (\n) into the string to put the author on the second line. Here's an example.
curl https://api.quotable.io/random -s | jq -r '"\(.content)\n - \(.author)"'

That's it! This may not be particularly useful to you, but along the way, we covered a few different things.
- A free and open-source API for all things quotes.
- Using
curl -sto silence request metrics. - Incrementally using jq and its features to parse and format the API response.
I hope that you can apply some of this knowledge next time you need to interact with API requests quickly in your terminal.